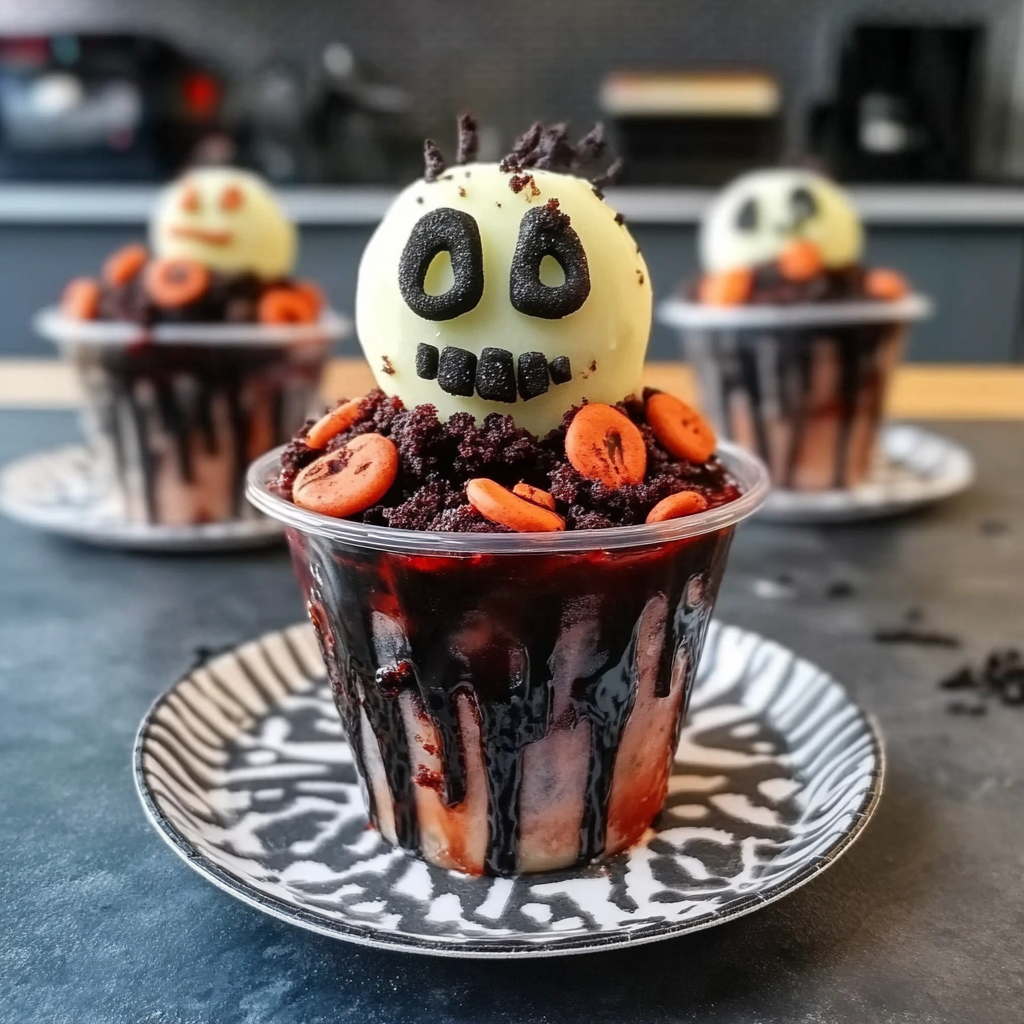
Get ready to dig into the spooktacular world of Haunted Graveyard Pudding Cups for your next party! Imagine a dessert that not only tastes incredible but also serves as the perfect centerpiece, giving your guests the shivers and giggles. spooky chocolate popcorn balls The rich chocolate pudding, paired with whipped cream tombstones and crumbly cookie dirt, creates a delightful combination of flavors and textures that will transport you straight to a haunted house—minus the ghosts, of course. Halloween strawberries treats.
Jump to:
- <strong>Essential Ingredients</strong>
- <strong>Let’s Make it together</strong>
- <strong>Perfecting the Cooking Process</strong>
- <strong>Add Your Touch</strong>
- <strong>Storing & Reheating</strong>
- <strong>FAQ</strong>
- Can I use homemade pudding instead of instant?
- What can I substitute for crushed cookies?
- How long can I keep these pudding cups?
- 📖 Recipe Card
These pudding cups are perfect for Halloween gatherings or any spooky-themed bash. As you serve these cups, be prepared for shrieks of joy and laughter from your friends and family. spooky witch’s brew dip The anticipation builds as they uncover the deliciousness hidden beneath the layers of “graveyard” goodness.
Why You'll Love This Recipe
- The Haunted Graveyard Pudding Cups are simple to assemble, making them ideal for last-minute parties
- They deliver a delightful mix of creamy chocolate and crunchy cookies
- With their eerie yet adorable presentation, they’re a visual treat that sparks conversation
- Versatile enough for any spooky occasion, everyone will love digging into these delicious cups
I recall the first time I made these pudding cups for my niece’s Halloween party; her friends couldn’t get enough of them! mini Halloween spider pizzas.
Essential Ingredients
Here’s what you’ll need to make this delicious dish:
- Chocolate Pudding Mix: Opt for instant pudding mix for quick preparation; it sets perfectly in just a few minutes.
- Milk: Whole milk works best for creaminess; don’t skimp on this ingredient!
- Whipped Topping: Use store-bought whipped cream or homemade whipped topping for that fluffy texture.
- Chocolate Sandwich Cookies: Crushed cookies mimic dirt—use Oreos for the best flavor and texture. For more inspiration, check out this chewy caramel cookies recipe.
- Gummy Worms: These creepy crawlers add fun to your dessert; look for colorful varieties at the store.
- Candy Tombstones: You can find edible tombstone decorations at most craft or baking stores; they’re essential for the graveyard look.
The full ingredients list, including measurements, is provided in the recipe card directly below.
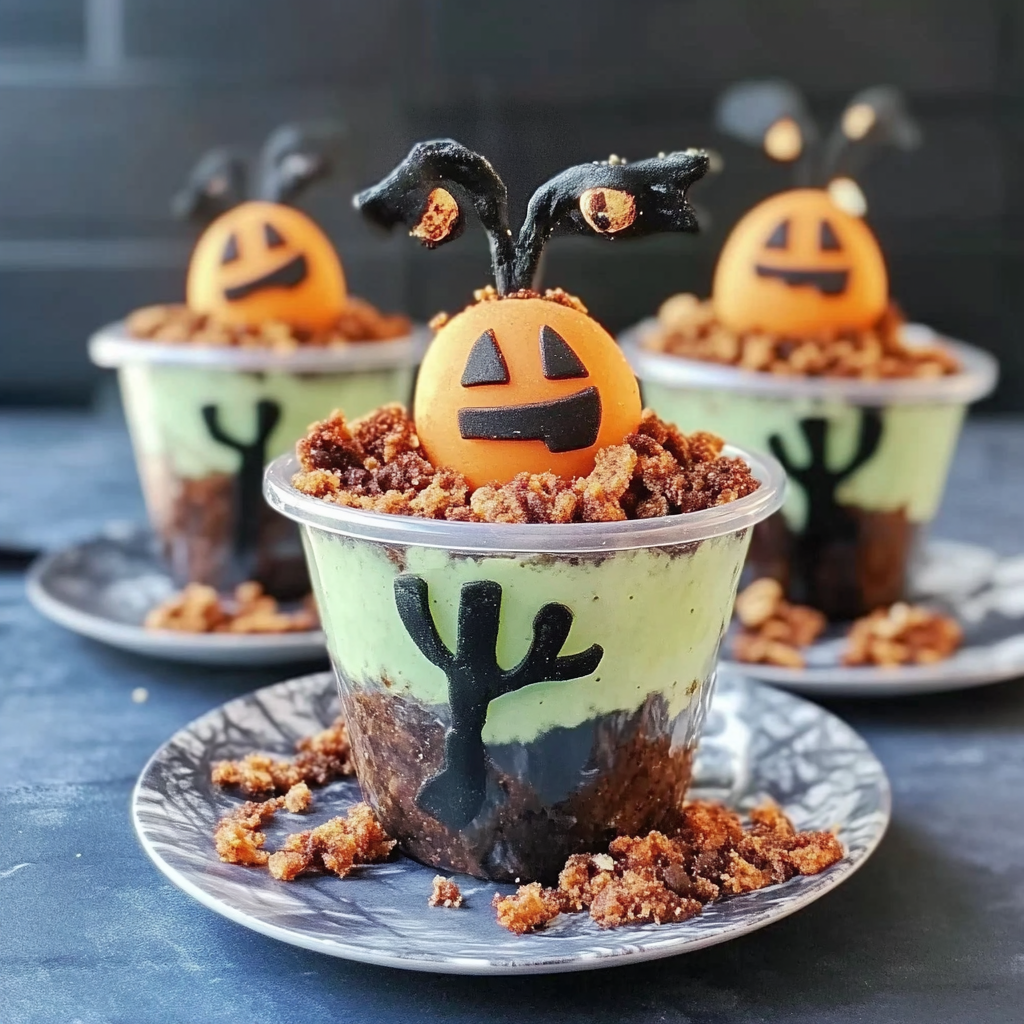
Let’s Make it together
Prepare the Pudding: In a mixing bowl, whisk together chocolate pudding mix and milk until smooth and creamy. Let it sit for about five minutes until it thickens slightly.
Crush the Cookies: Place chocolate sandwich cookies in a resealable bag and crush them into fine crumbs using a rolling pin. This will be your “dirt” layer.
Layer It Up!: Grab your serving cups and start layering by adding a spoonful of chocolate pudding at the bottom. Sprinkle crushed cookies on top to form a dirt layer.
Add Whipped Cream: Spoon whipped topping over the cookie layer to create an airy cloud effect that contrasts beautifully with the dark pudding below.
Decorate with Candy: Finally, place gummy worms on top and stick candy tombstones into each cup for that eerie graveyard vibe.
This fun dessert is sure to be a hit at your next gathering! Enjoy watching your guests dig into these creepy treats while sharing laughs over how deliciously spooky they are!
You Must Know
- These Haunted Graveyard Pudding Cups for party are not just adorable; they’re a delicious treat that will have your guests smiling
- The combination of creamy pudding, crunchy toppings, and spooky decorations creates an unforgettable dessert experience
- Prepare for compliments as guests dig in!
Perfecting the Cooking Process
Start by preparing your pudding mix according to package instructions before layering it with crushed cookies and gummy worms for a spooky effect.
Add Your Touch
Feel free to customize by adding different candies, such as chocolate spiders or edible glitter to make your cups even more festive and fun.
Storing & Reheating
Store your Haunted Graveyard Pudding Cups in the refrigerator for up to three days. Avoid freezing, since it can affect the texture of the pudding.
Chef's Helpful Tips
- Make sure to chill the pudding before assembling the cups for a perfect consistency
- Use a piping bag to layer toppings neatly and impressively
- Don’t skip the creepy decorations; they’re half the fun of these spooky treats!
Creating these Haunted Graveyard Pudding Cups brought back memories of Halloween parties filled with laughter and delicious desserts shared with friends. For more inspiration, check out this no-bake mini cheesecakes recipe.
FAQ
Can I use homemade pudding instead of instant?
Absolutely! Homemade pudding adds a rich flavor and creamy texture to your cups.
What can I substitute for crushed cookies?
Try using graham crackers or even crushed cereal for a different flavor profile.
How long can I keep these pudding cups?
They last up to three days in the fridge, ensuring freshness for your party!
Did You Enjoy Making This Recipe? Please rate this recipe with ⭐⭐⭐⭐⭐ or leave a comment.
📖 Recipe Card
Print
Haunted Graveyard Pudding Cups
- Total Time: 0 hours
- Yield: Serves 6
Description
Get ready to impress your guests with these Haunted Graveyard Pudding Cups! This spooky dessert combines rich chocolate pudding, whipped cream tombstones, and crumbled cookie dirt for a delightful treat that’s perfect for Halloween parties. Easy to assemble, these cups are sure to be the highlight of your gathering, combining eeriness and deliciousness in every bite.
Ingredients
- 1 (3.9 oz) box chocolate pudding mix
- 2 cups whole milk
- 1 cup whipped topping
- 10 chocolate sandwich cookies (like Oreos), crushed
- 6 gummy worms
- 4 candy tombstones
Instructions
- In a mixing bowl, whisk the chocolate pudding mix and milk until smooth. Let it sit for about 5 minutes to thicken.
- Crush the cookies in a resealable bag using a rolling pin until fine crumbs form.
- In clear serving cups, layer pudding at the bottom followed by a layer of crushed cookies.
- Spoon whipped topping over the cookie layer.
- Decorate with gummy worms and place candy tombstones on top.
- Prep Time: 15 minutes
- Cook Time: None
- Category: Dessert
- Method: No-Cook
- Cuisine: American
Nutrition
- Serving Size: 1 cup (200g)
- Calories: 290
- Sugar: 22g
- Sodium: 160mg
- Fat: 12g
- Saturated Fat: 7g
- Unsaturated Fat: 4g
- Trans Fat: 0g
- Carbohydrates: 40g
- Fiber: 1g
- Protein: 4g
- Cholesterol: 20mg
