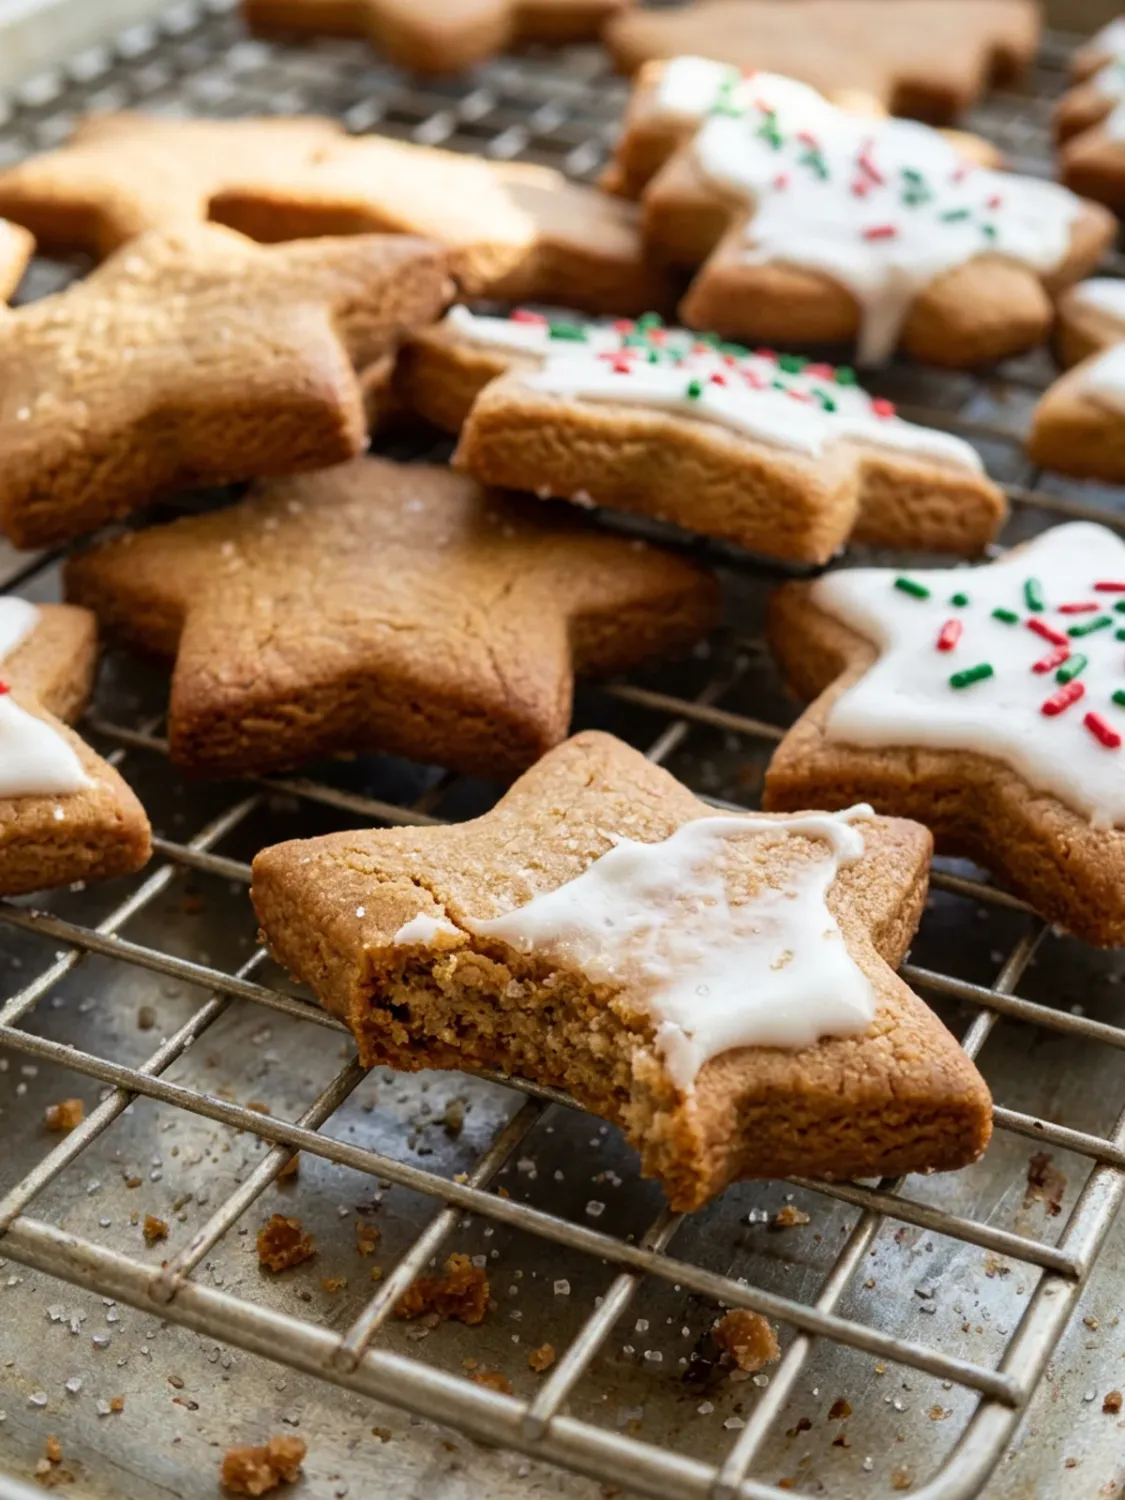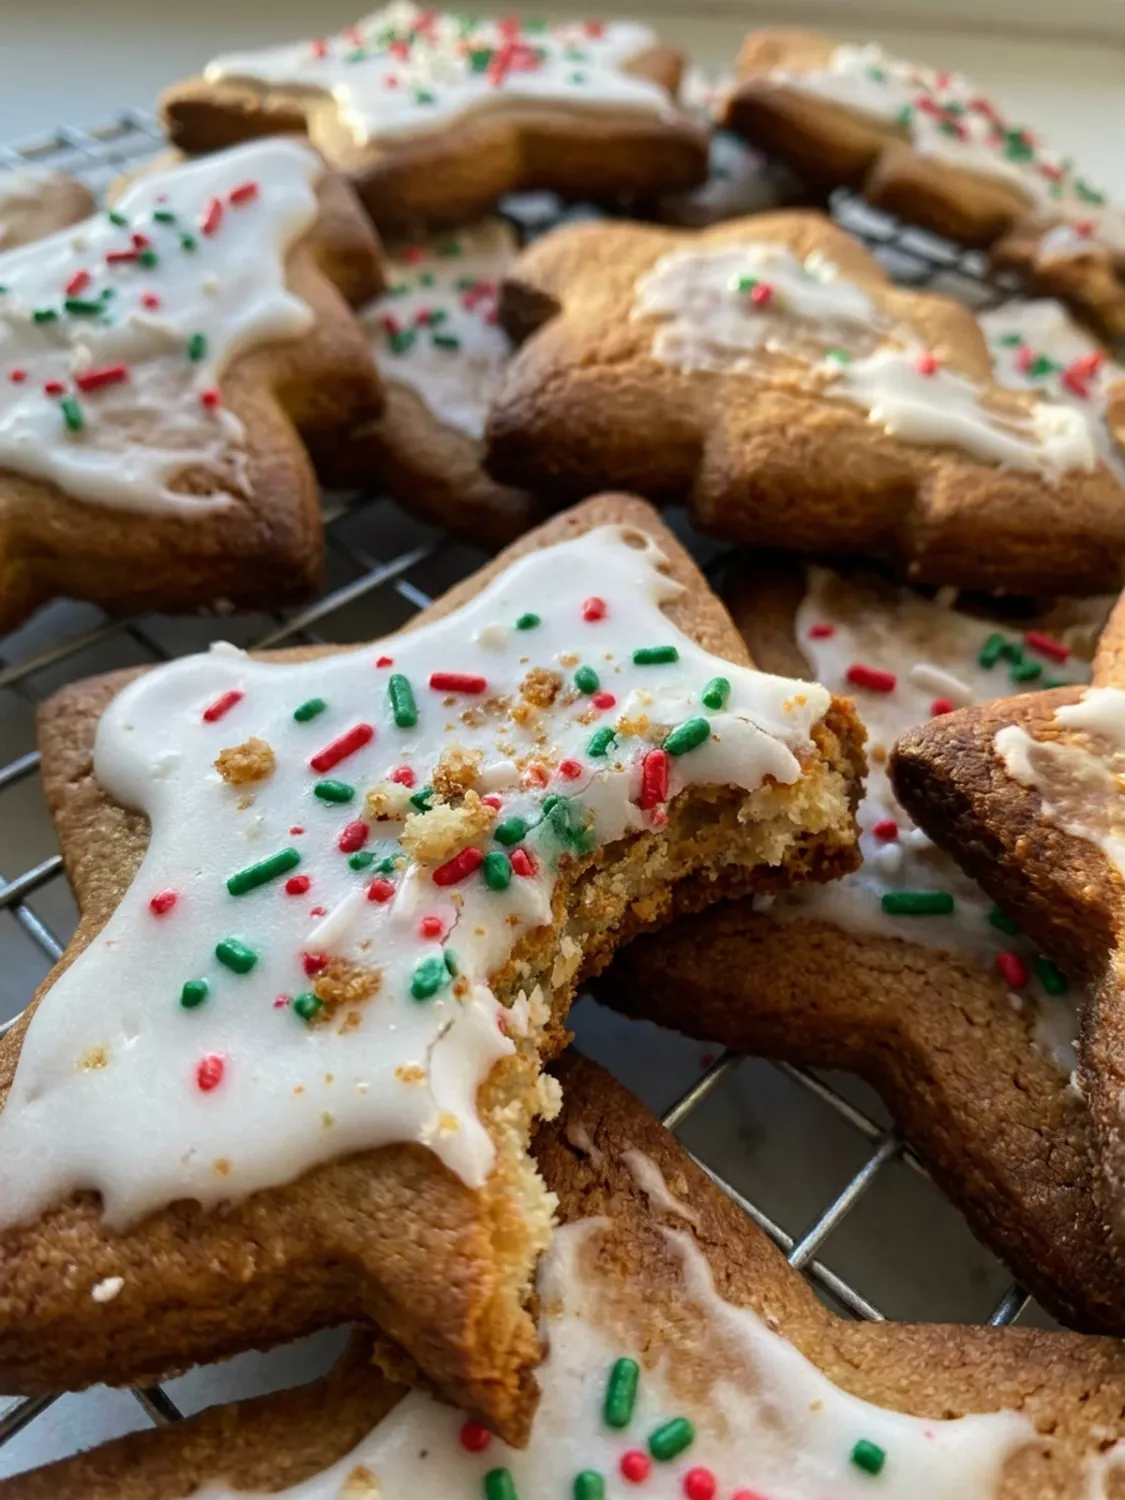
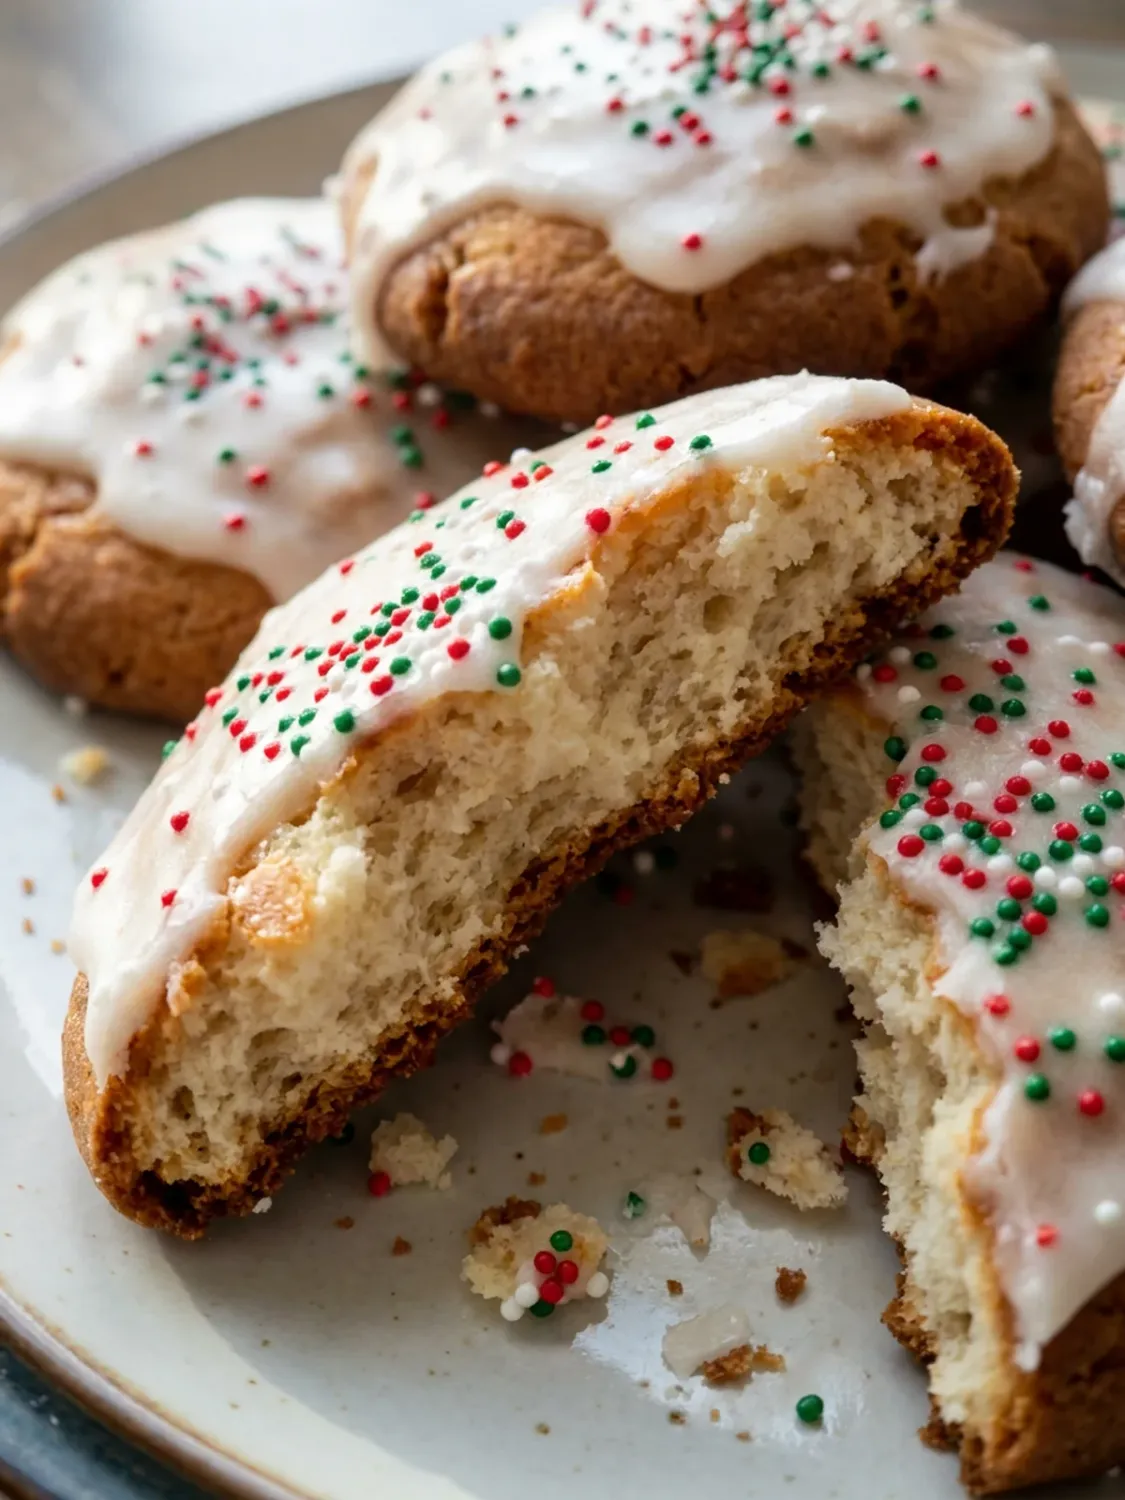
These Italian Christmas cookies are a holiday classic for a reason. They have a wonderfully soft, cake-like texture that's different from a typical crisp cookie. Topped with a simple sweet glaze and festive sprinkles, they look as good as they taste.
This recipe is straightforward and comes together with basic pantry ingredients. The dough needs to chill for an hour, but the active preparation and baking time is minimal, making it a great project for a holiday baking day.
Why this works
- Chilling the dough balls before baking is the most important step. It helps the cookies keep their shape and results in a thicker, softer cookie rather than a flat, crisp one.
- Baking just until the tops are set, not browned, is key to the tender texture. The bottoms will be lightly golden, which is your cue that they are done.
- Warming the milk for the glaze helps the powdered sugar dissolve smoothly, giving you a lump-free finish that coats the cookies beautifully.
Ingredients you'll need
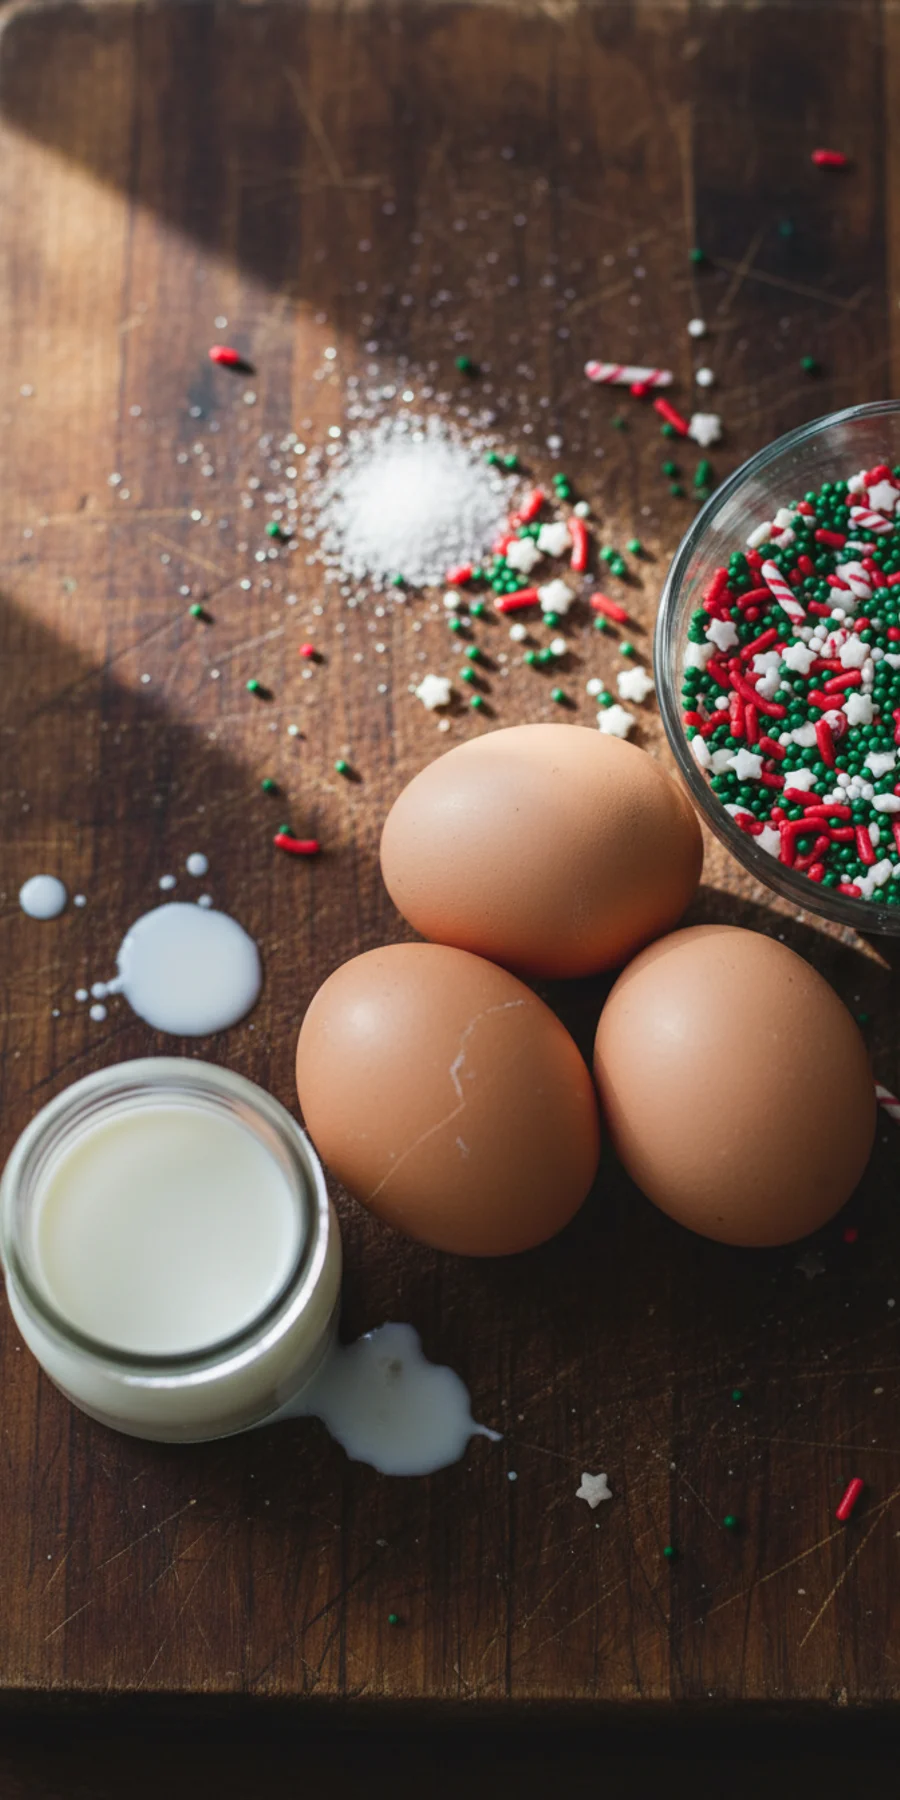
- Extract: Vanilla and almond are the most common flavors. You can also use anise extract for a traditional licorice-like flavor, or even lemon extract for a brighter taste.
- Oil: A neutral-flavored oil like vegetable, canola, or sunflower oil works best so it doesn't overpower the delicate flavor of the cookies.
- Milk: For the richest glaze, use whole milk or cream. However, 2% milk or even a non-dairy alternative will also work well.
- Sprinkles: Classic nonpareils (the little balls) are traditional, but you can use any festive sprinkles you have on hand, like jimmies or colored sanding sugar.
Exact quantities are in the recipe card below.
How to make it
Step 1: Prepare the Cookie Dough
Start by whisking the wet ingredients: eggs, oil, sugar, and your chosen extract. In another bowl, combine the flour, baking powder, and salt. Gently mix the dry ingredients into the wet until a soft dough forms.
Step 2: Shape and Chill
Roll the dough into one-inch balls and place them on a parchment-lined sheet. It's very important to chill the dough balls for at least an hour in the fridge. This step ensures the cookies bake up soft and puffy instead of spreading out flat.

Step 3: Bake and Cool
Bake the chilled cookies at 350°F on parchment-lined sheets. They are ready in about 9-11 minutes, when the tops look set but are still pale. Let them cool completely on a wire rack before you think about glazing.
Step 4: Make the Glaze and Decorate
Whisk the powdered sugar and extract together, then slowly stream in warm milk until you have a smooth, thick-but-pourable glaze. Dip the top of each cooled cookie into the glaze, then immediately add your festive sprinkles before the glaze sets.
Serve it with
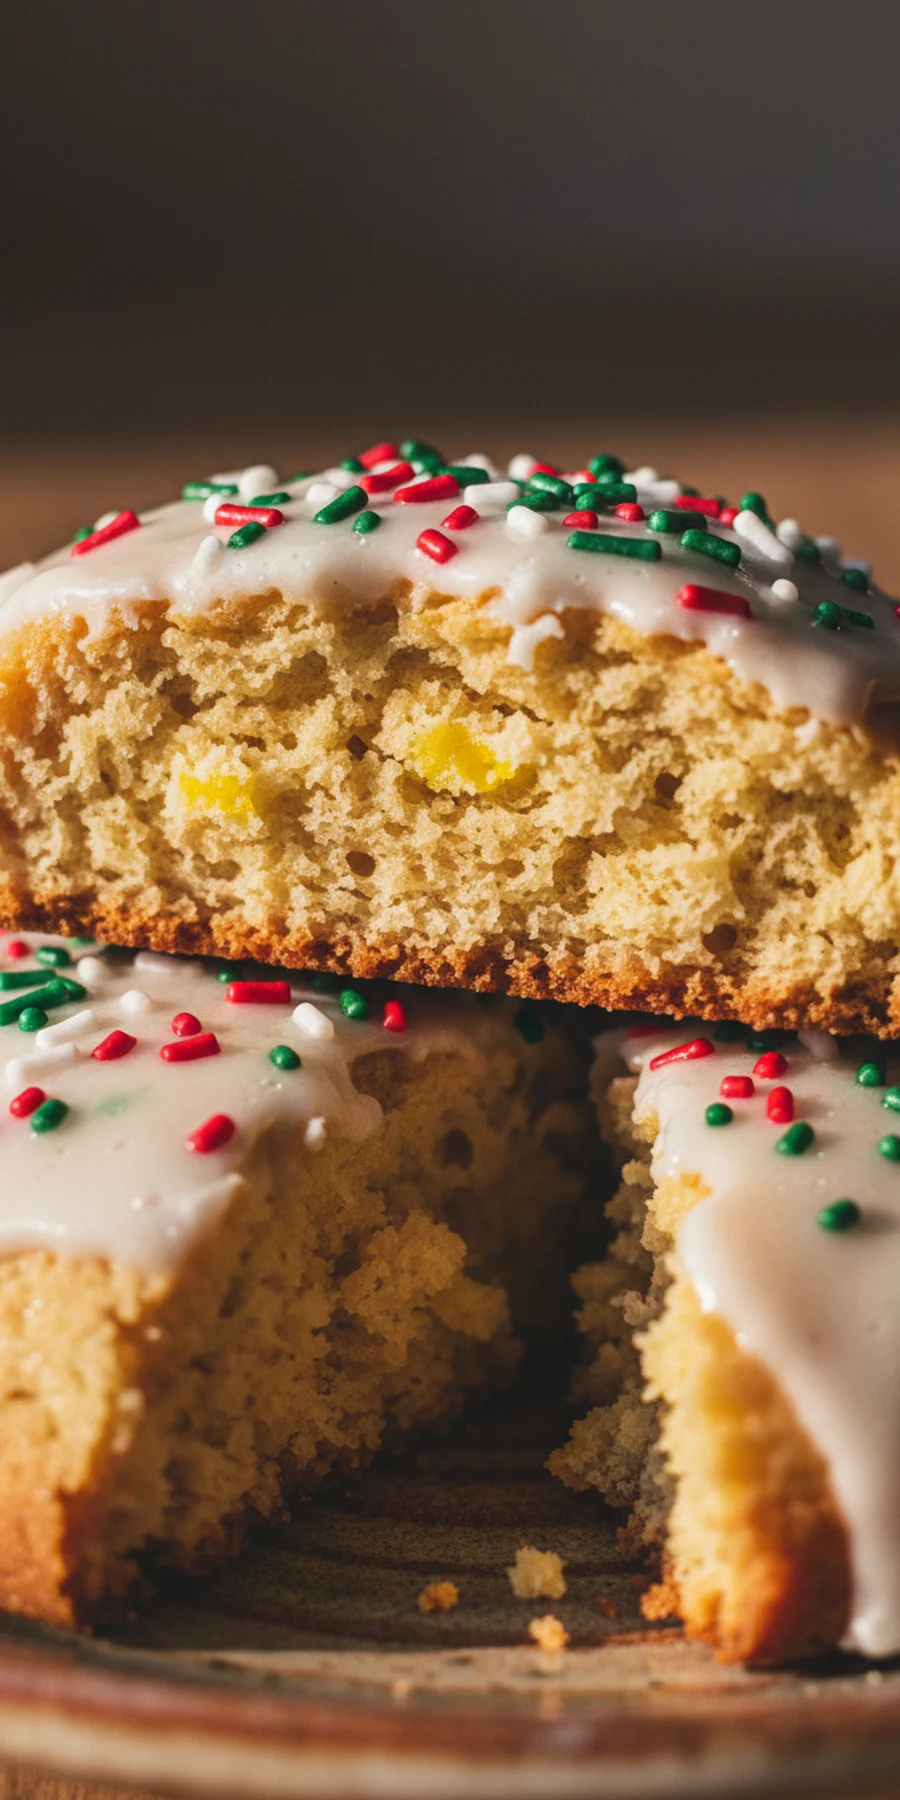
These cookies are wonderful on their own or as part of a larger holiday dessert spread. They pair nicely with a warm drink like coffee, tea, or a festive Christmas Punch.
Storage and reheating
Store the cookies in an airtight container at room temperature for up to 4 days. For longer storage, you can freeze them (either glazed or unglazed) in a single layer on a baking sheet before transferring to a freezer-safe bag for up to 3 months. Thaw at room temperature.
FAQ
Can I make the dough ahead of time?
Yes, you can prepare the dough, cover it tightly, and refrigerate it for up to 2 days. When you're ready to bake, let it sit at room temperature for about 15 minutes to make it easier to roll into balls.
Why did my cookies spread and become flat?
The most common reason for flat cookies is skipping or shortening the chilling time. The dough needs to be cold when it goes into the oven to prevent spreading. Also, ensure your baking powder is fresh.
Can I freeze these cookies?
Absolutely. You can freeze the unbaked dough balls and bake them from frozen (adding a minute or two to the bake time). You can also freeze the finished, glazed cookies in an airtight container for up to 3 months.